If people are a city’s lifeblood and downtown its beating heart, then the city’s transit apparatus is the circulatory system carrying that vital flow to and from the places it needs to go. And perhaps there is no public transport more ingrained into popular culture than the unassuming subway.
Spidermans have been born there. Evil villains have made them their lairs. People fall in love there all the time. There’s just something about those subterranean networks of rails and tunnels that call to the human psyche, begging to be center stage in our fiction. And it turns out, it’s a great setting for board games, too. Take Terminus, for example.
Terminus is an action selection, resource management, and town building game governed by a rondel-style track (called the Action Loop) which not only functions as the game’s timer, but also serves as the main impediment to the players’ ambitions. Building subway lines to score points is the name of the game, but you only get nine revolutions around the track in which to achieve your goals. Some actions are cheaper the earlier you get to them and some items are limited. So, Terminus is going to force you to make some tough decisions, passing up some things in order to get to others before your opponents do. And that’s just moving around the track!
In between the players is a map of No Name City’s underground. Players will be building subway lines and stops, adding Demand tiles to the map in order to both provide access to upgraded actions and to make their stops worth more points at the end of the game, as well as assigning Lobbyists to various public and private objectives. So, that’s even more to consider.
After the last player has finished their final rotation around the Action Loop, the game ends and scoring is performed. Players add up their points and the person with the most wins.
Of course, this is just a high-level overview of the game. If you just want to see what I think about it, feel free to skip ahead to the Thoughts section. Otherwise, read on as we learn how to play Terminus.
Setup
Terminus is set up thusly:
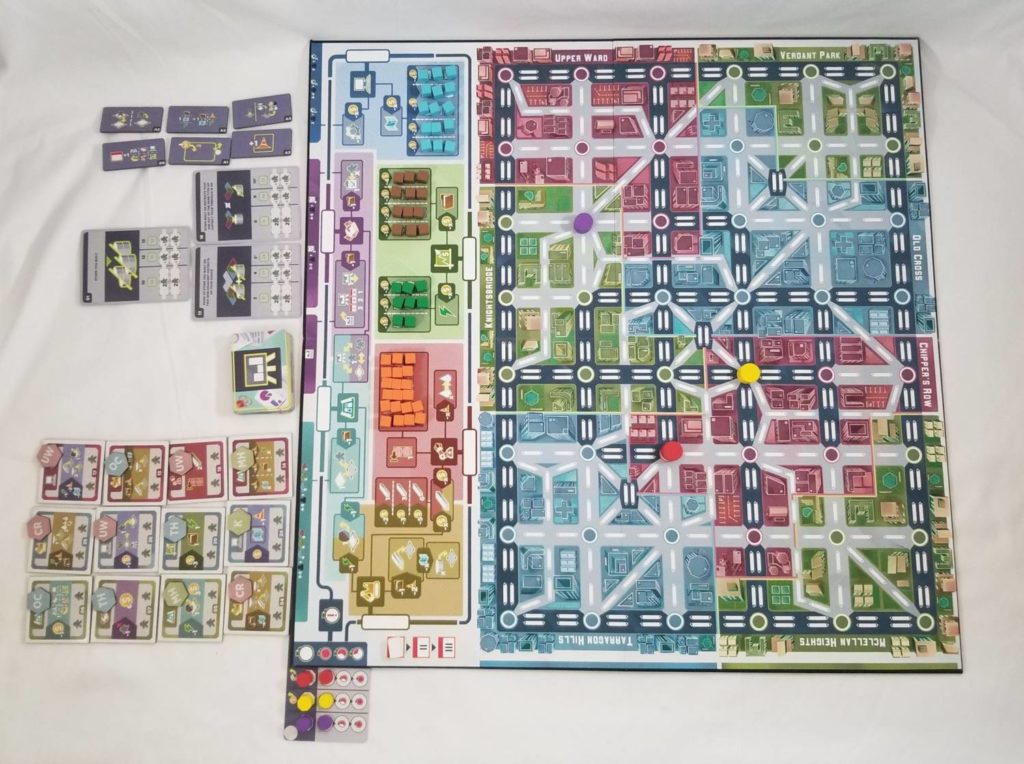
The main board is laid out between the players with the Turn Order card tucked underneath the upper corner of the board according to how many people are playing. At the top left of the board are a series of Development tiles with a random Demand tile placed onto each. To the right of this is placed the shuffled deck of Agenda cards. Then come a number of Project cards followed by a series of Upgrade tiles. Each of these is situated above the area of the Action Loop which corresponds to them.
At the top of the main board is the Action Loop, which is divided into six sections. The upper half consists of the Develop, Lobby, and Improve areas. The lower half consists of the Market, Material, and Build sections. These lower sections are populated with different colored cubes representing blueprints, permits, power, and construction.
The lower portion of the Main board shows the city map. This map is divided into several different districts. This is where players will be constructing their subway systems and placing Development tiles throughout the course of the game, but we’ll get to that in due time.
After setting up the main board, each player selects a color to play and receives all the pieces of their chosen color, one of each of the basic upgrade tiles, a player aid, and their player board. The player pieces are laid atop their marked spots, except for the rails, which are left in a supply close to the player board. The basic upgrade tiles are placed atop their marked locations face down.
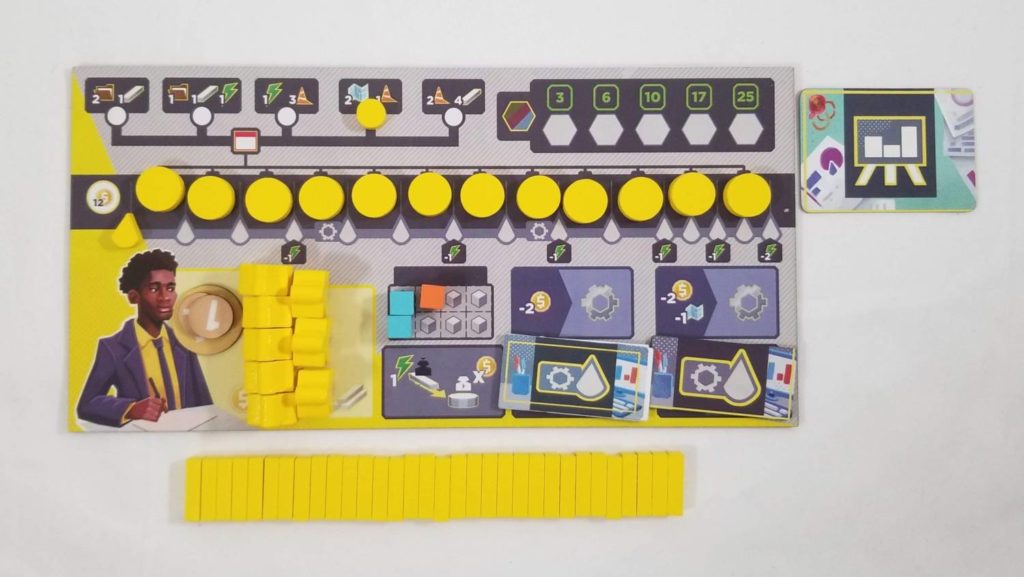
Next, each player receives two Agendas (personal objective cards)—one to keep and one to discard. The players compare the value of their discarded Agendas to determine initial turn order and set their Player and Cycle markers onto the Turn Order card accordingly. The kept Agenda is placed face down next to the player board, hidden from the other players. Then, in reverse turn order, each player takes turns placing their leftmost Station (called their ‘Prime Hub’) onto one of the station spots on the main board. And with that, you’re ready to play Terminus.
The Action Loop
The gameplay in Terminus is governed by the Action Loop. Each time a player takes a turn, they will move their Player marker at least one space clockwise around this loop, taking one of the actions associated with the area where their marker lands. Each time they make a full rotation, their Cycle marker advances one space. After their third cycle, their Player marker is removed from the board and placed into the next open spot on the Turn order card, signaling the end of their participation in the round as well as their place in turn order during the next round.
So, let’s talk about those actions. The following is a list of each area with its accompanying actions and a brief description of how the action is used. Most areas of the Action Loop have an action which overlaps with one of the neighboring areas. I will add the notation (OL) to these so that you can see where the overlaps occur.
Develop

Take a Demand tile (OL) from one of the Developments that have been added to the main board. The more of these you’ve claimed over the course of the game, the more points you’ll earn at the end.
Add a Development to the board along with the Demand tile that’s sitting on top of it. These can only be built adjacent to one of your stations.
Move a Lobbyist (OL) from one of these areas to another: your player board, one of your Agendas, or a Development tile.
Lobby

Move a Lobbyist (OL)
Draw 1 to 3 Agendas (according to the current year) and keep one of them, discarding the others. The kept one is placed face up next to your player board where all can see. These are worth points at the end of the game if their criteria are met and possibly even more if there are Lobbyists assigned to them.
Place Lobbyists onto a Project. Projects are public objectives that can only accommodate two players each. Lobbyists assigned to Projects can never be moved.
Improve
Purchase an Upgrade tile. Each player can only ever have two of these upgrades, and only a single copy of each. These do various things, such as making certain actions more powerful or giving you discounts on things.
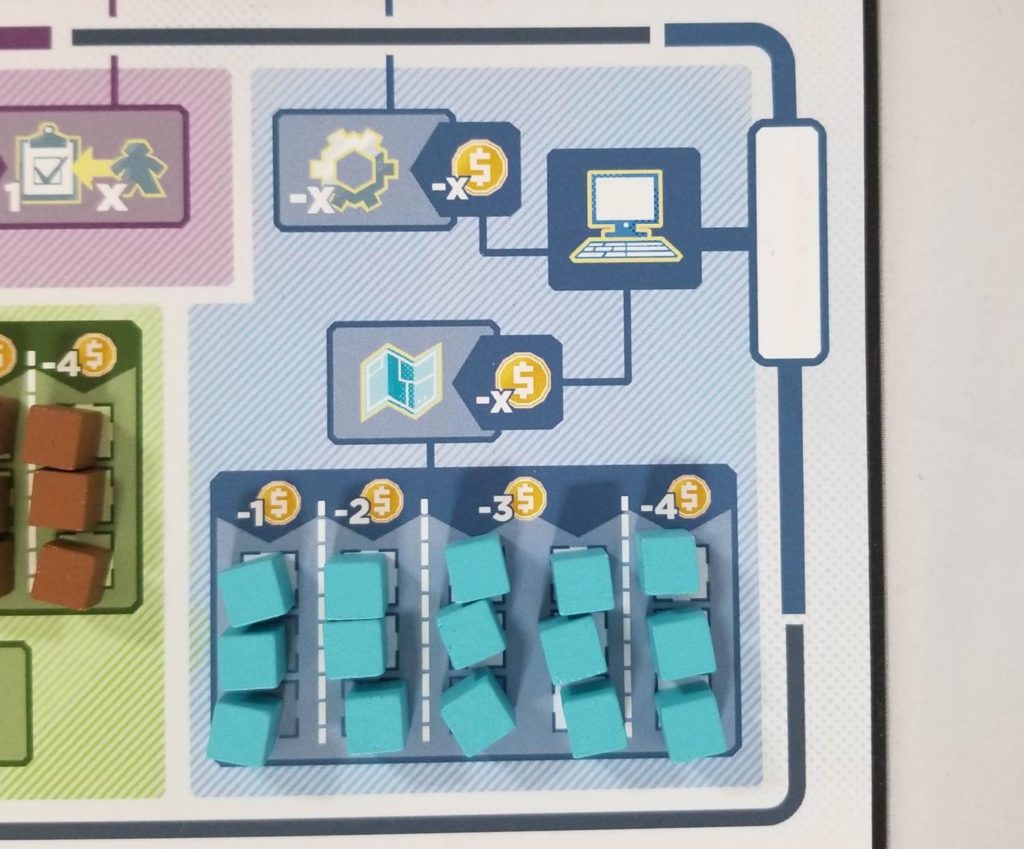
Buy blueprints. These cubes (and the cubes in the Market area) are arranged in columns. You can buy cubes from a column for the price listed above the column. Each successive column becomes more expensive.
Market
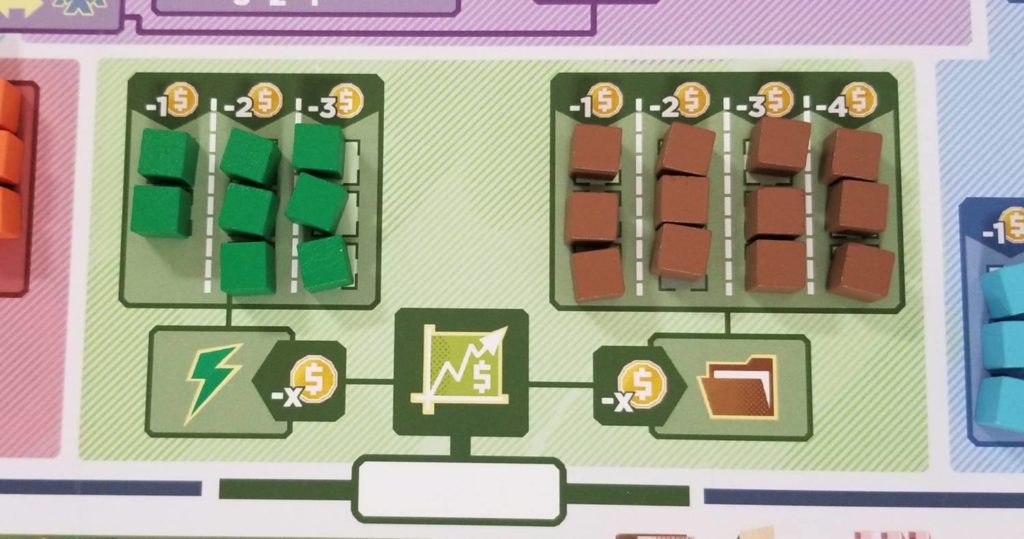
Buy Permit cubes or Power cubes.
Material
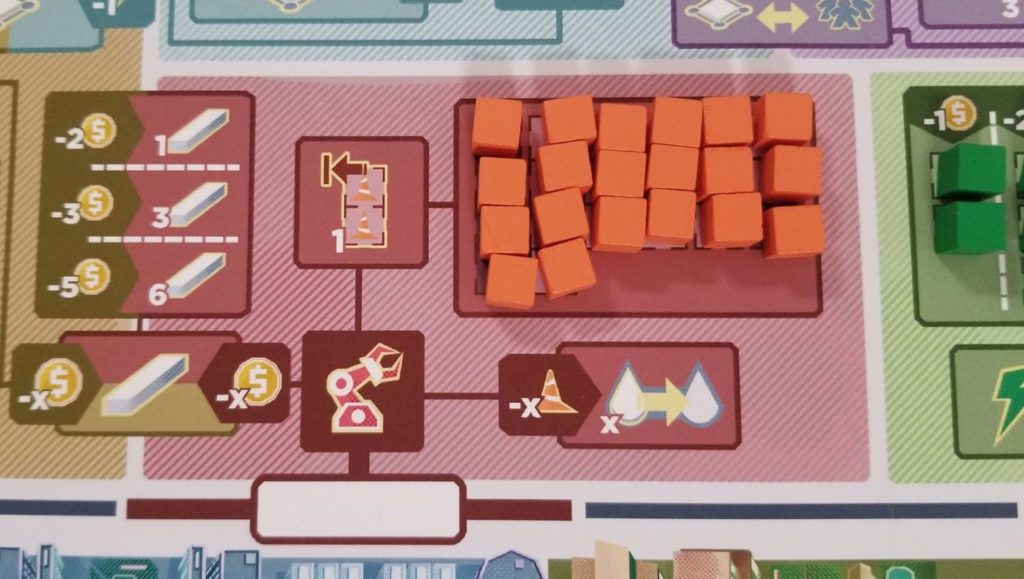
Take all the Construction cubes from the leftmost column with cubes in it.
Advance your Capacity marker on your Player board. When it comes to building stations, you can only build stations that you’ve unlocked by advancing your Capacity marker.
Buy Rails (OL). Players can buy as many Rails as they can afford. The prices for the different amounts are shown on the main board. Each purchased Rail is added to the appropriate spot on the player’s Player board.
Build
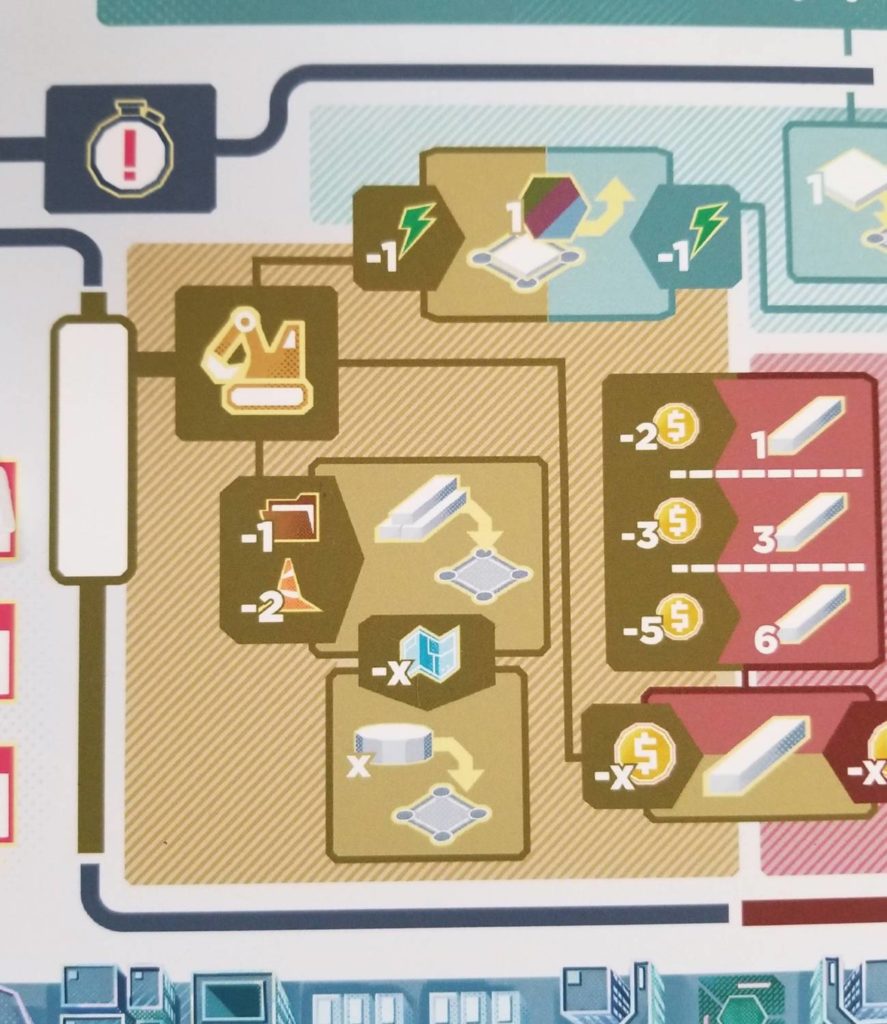
Buy Rails (OL)
Take a Demand tile (OL)
And, finally, the last action: build rails and stations. This one is a little more complex, so let’s talk more about it in its own section.
Zen and the Art of Subway Maintenance
Each player’s subway system begins with their Prime Hub, which they will have placed onto the board during setup. This Prime Hub is considered to be the player’s ‘terminus’—the end point of a subway line and the point from which new construction can begin.
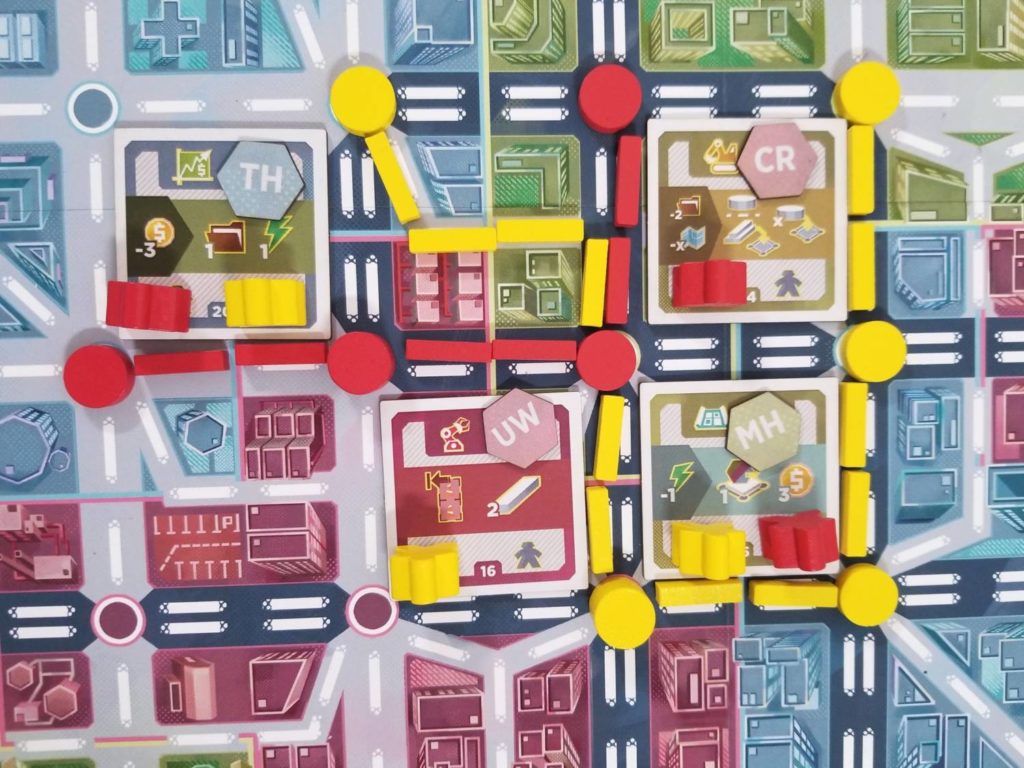
When a player takes the Build action, they must first pay one permit and two construction. Then, they can place as many rails as they have available. Each time a rail line reaches an empty station spot, the player must pay a blueprint to remove one of their unlocked stations from their board to place onto the empty spot. No unlocked stations means you can’t build the rails that led to the spot.
There is a way to circumvent this requirement. If you extend your rails to another player’s station (i.e. – a ‘stop’), then you can build rails from that station as if it were your own. You earn a Power cube for making the connection and they get a coin from the supply.
Each time your Building action ends, the station at the end of your subway line becomes your new terminus and further Building actions must begin from there. Eventually, you might unlock one or both of the basic upgrades which you began the game with. One allows you to treat your Prime Hub as a second terminus, allowing you to build your line in a different direction. The other allows you to turn your existing stations into ‘hubs’ by placing station disks on top of them.
What are hubs used for? Glad you asked. They matter to some Agendas and Projects, but they are especially important during scoring.
Scoring
At the end of the game, players will tally up their scores to determine the winner. Victory points come from several things:
– Stations adjacent to at least one Development tile are worth one point each
– Hubs adjacent to only one Development tile are worth two points each
– Hubs adjacent to at least two Development tiles are worth three points each
– Points are earned from collected Demand tiles
– Points are rewarded for how well you meet the criteria of any Projects you’ve assigned Lobbyists to
– Points are scored for how well you met the criteria of your Agendas with bonus points possibly being scored if you assigned any Lobbyists to them
– One point is scored for every four dollars you have left over
Thoughts
Before I go too far in the weeds with my thoughts regarding Terminus, let me preface the following paragraphs with a reminder that the game I received is a near-final prototype. The overall look of the game and the layout are probably not likely to change at this point, but they may. The rule book that I was working with was a Google doc that was a work in progress. I was also shown a fully laid out version of an older rule book so that I could get an idea of what the final product looked like. Reading through it, I did encounter a few areas that I felt could use some more clarity. So, I created a Google doc of my own for the publisher, with my questions, concerns, and recommendations. And, to their credit, they took me seriously and addressed all the points that I raised.
Having a publisher that’s open to critique and acts upon it is always a good sign for a Kickstarter. That usually speaks to a quality end product. And, based on the prototype that I received, the end product of this campaign should be really nice. Because, let me tell you, no expense was spared. The cards are nice and thick. The tiles and game board are good and sturdy. Even the box looks nice. Like REALLY REALLY nice.
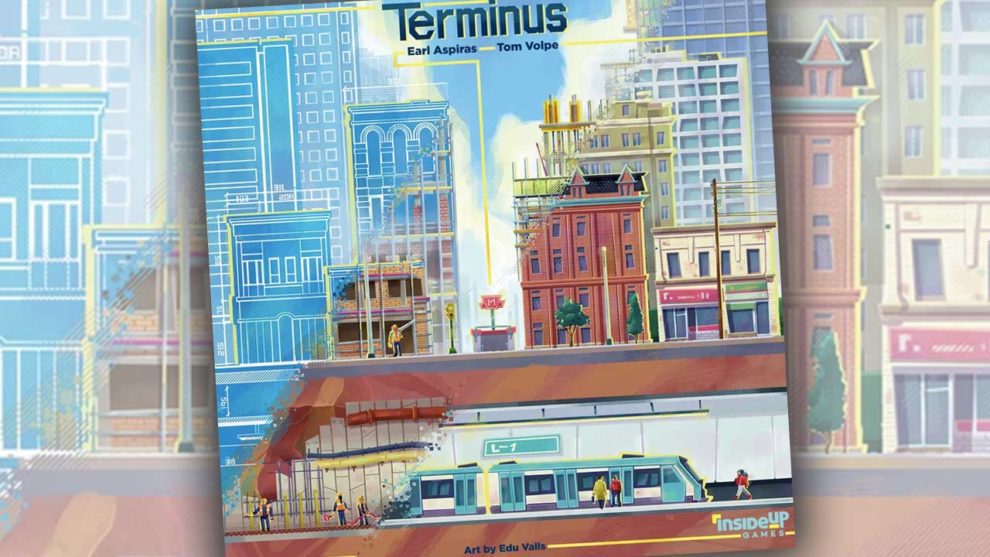
The box art by Edu Valls shows us a cityscape with time peeled away like layers of wallpaper. In the foremost layer, we see a subway station in mid-transition. A series of passengers is just entering a car, on their way to their next destination. The next layer reveals a city under construction and beneath its feet, a subway on its way to becoming a reality. Standing among the pipes and electric conduits are two workers receiving directions from their foreman. And behind this, we see a series of blueprints, a city that’s little more than a dreamscape. I’m not sure what this image is meant to evoke, but it’s fantastic. It’s the kind of box art that makes you curious about what’s hiding inside.
What waits inside is one of the thinkiest, puzzliest, games I have enjoyed in quite some time. I found myself challenged from the get-go. For instance, my desire is always to build something before my second go ‘round the Action Loop. At the start of a round, you get to choose your own income from a small assortment of possibilities at the top of your Player board. To build, you’re going to need a permit, two construction cubes, at least one unlocked station on your player board, and you’re going to need at least two rails. Theoretically, it seems like it should be possible, but I have yet to pull it off. It doesn’t stop me from trying, though. I think I’ve just about got it figured out. With the right starting resources, the right Prime Hub placement, and the right Development tile, I think I could gather all the things I need before I reach the Build action. At least, that’s my theory.
That’s the magic of Terminus. It’s the kind of game that you can’t stop thinking about. When you walk away from the experience, you’ll find yourself overanalyzing every move you made, trying to figure out where you went wrong or how you could have done better. And that just leaves you longing for more.
Terminus isn’t all sunshine and roses, though. I mentioned the rule book already. That led to a couple of rough games and a lot of back and forth with the publisher to really wrap my head around everything. There are a lot of little tiny rules that you’re expected to remember and overlooking them has some disastrous consequences. I have high hopes these things will be addressed in the game’s final state.
I also felt like there was something lacking in the Acton Loop. It probably comes from me being used to the way that other games use this kind of thing. Take a game like Gil Hova’s High Rise, for example. In that game, you keep going until your marker has surpassed someone else’s marker and then it’s that player’s turn. It feels odd to play a game that uses a rondel without using such a classic rondel mechanic. Not that this lack impacts the game in any negative way. Terminus is challenging enough as it is, but I feel like it could be even more so.
Another check in the negative column is that, despite using an AI to simulate a third player when playing the two player mode, there is no solitaire mode for the game at the time of this writing. That certainly won’t be stopping me from playing it. I’m not a solo person, but I know a lot of people that are. And when your game has a built-in AI already, it seems a shame to not have some kind of solo mode designed around it.
Overall, though, I am very pleased with Terminus. My time spent with this game has been enjoyable and I look forward to spending even more time with the final version.






Add Comment